Connect Shopify with SegMetrics
With our direct integration with Shopify, you can track your revenue, refunds, coupons, and more. You can also track your page visits and web information of leads acquired through Shopify, by simply adding the tracking pixel to the shop you want to track.
When a customer purchases from Shopify, their contact information will be sent to the CRM that you have configured in SegMetrics. But you'll also want to connect the web history of those leads into the full customer journey. In order to do that, we'll want to install the tracking pixel on your Shopify pages, as well as a special code on your purchase thank you page.
Integrating Shopify and SegMetrics
Follow the steps below to directly connect your SegMetrics and Shopify accounts:
- Click here to go to the Shopify integration page.
- Once on the integration page, enter your site details.
Note: Keep in mind that if you’re using a custom site domain for your Shopify store, your store name is the name you first gave your Shopify store when you created the Shopify account.
- Click Connect Shopify.
SegMetrics will now begin to import all of your historical Shopify data into your SegMetrics account.
Tracking Shopify Web Activity
Get the SegMetrics Tracking Code
- In SegMetrics, go to your Site Setup page from the gear in the top menu, and copy the pixel code.
- If you haven't configured your Tracking Code previously, check out the Installing the Tracking Pixel instructions to set up your site correctly.
Install the SegMetrics Tracking Code on Your Shop
We recommend using Google Tag Manager for installing your SegMetrics code on your Shopify Site. This will make sure that the code is available on your pages, without having to edit each theme template.
However, if you would like to install the Tracking Code manually, please do the following:
- In your Shopify admin, click Online store, and then click Themes.
- In the theme drop-down, click Edit Code.
- Copy the Tracking Code pixel (above) from SegMetrics
- In your Shopify admin, open your
theme.liquidfile. - Paste the code pixel as low in the
<head>of thetheme.liquidcode as possible. - In your Shopify admin, click Save.
Install the Checkout Code (Shopify Plus Only)
- Open your
checkout.liquidfile. - Paste the code pixel as low in the
<head>of thecheckout.liquidcode as possible. - In your Shopify admin, click Save.
Install the Checkout Code (Non-Shopify Plus Only)
If you are a Shopify Plus customer, you do not need to configure this part of connection. However, non-Shopify Plus customers may not customize the checkout.liquid file to install the code.
In that case, please follow the steps below to connect identify the user after purchase:
- From your Shopify admin, go to Settings > Checkout.
- Under Order processing, go to the Additional scripts text box.
- Make sure that the SegMetrics tracking code (above) is also on the Thank You page.
- Copy / Paste the identify script UNDER the SegMetrics Tracking Code:
<!-- NORMAL SEGMETRICS TRACKING CODE GOES HERE --> <script type="text/javascript"> _segq.push(['identify', '{{ order.email }}']); </script> - Click Save
Install the Upsell Code
If you are using a one-click upsell or post-purchase app like Zipify, you will want to add the tracking snippet to the Post-purchase additional scripts in Shopify in order to connect the purchases for customers who abandon the post-purchase flow.
- From your Shopify admin, go to Settings > Checkout.
- In the Post-purchase additional scripts field, enter the SegMetrics tracking pixel.
- Click Save
Full instructions can be found in Shopify's Help Documentation
Shopify Refunds
When viewing your Shopify returns in SegMetrics, you may at times see higher refund numbers in Shopify than you do inside of SegMetrics for a given period of time.
Shopify defines refunds as: The total of returns made during this period, whether or not the purchase was made during the period.
This means that when viewing refund metrics in your Shopify admin, you’re seeing the total amount of refunds processed in the selected period of time, even if the original purchases were made outside of that period of time.
In SegMetrics, refunds are processed back to the original order date, rather than the date the refund was processed in Shopify. This means that when looking at refunds in SegMetrics, you’re seeing the total amount of refunds processed for the orders that were made in the time period of your SegMetrics report. If the original order date is not within the report’s range of time, but the refund was processed within the time frame of the report, that refund will not appear in the numbers of that report.
For example, let’s say we want to look at refunds on the Orders report.
Once on the report add the Order Status filter and set it to “has been refunded.”
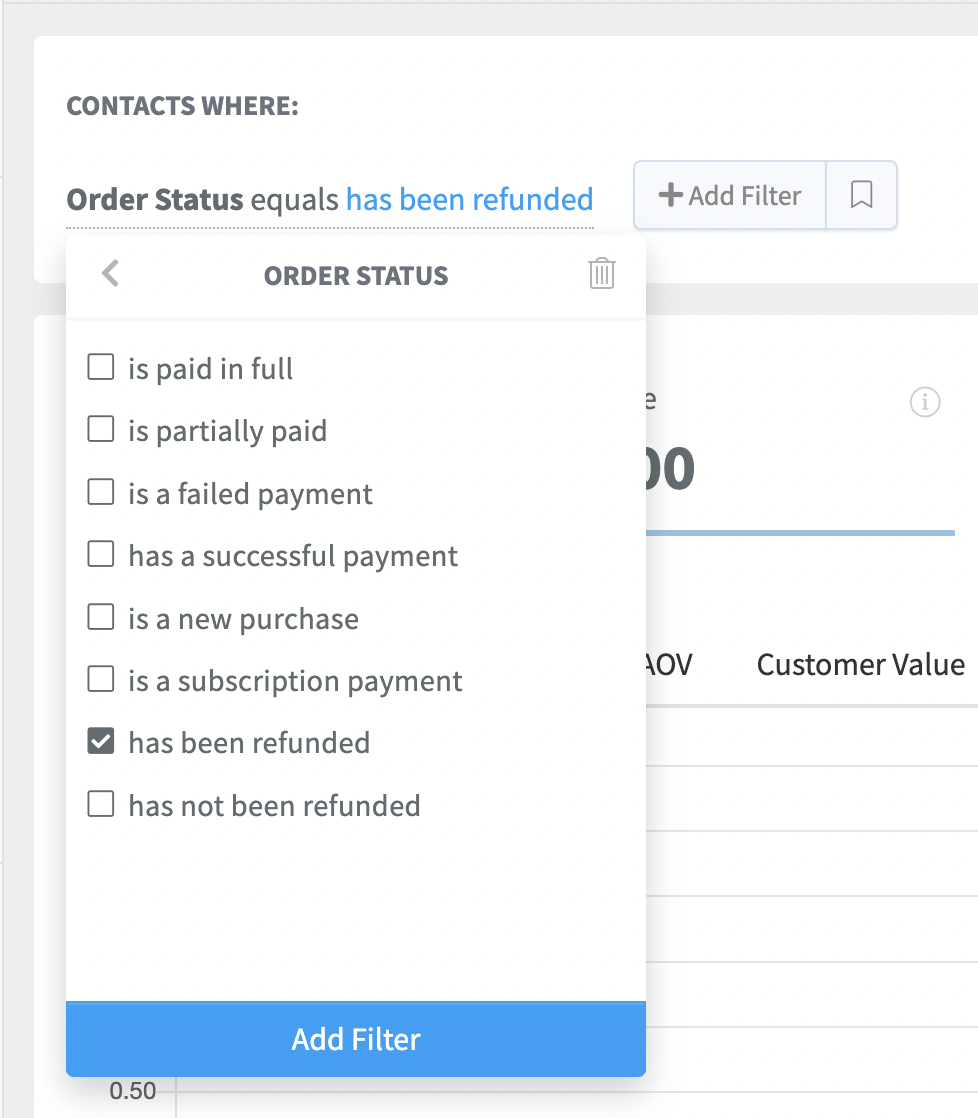
This filter returns refunds that have been processed for orders placed in the date range of the report.
The example report below is showing a total of $200.00 refunded for any orders placed in the report’s time period.
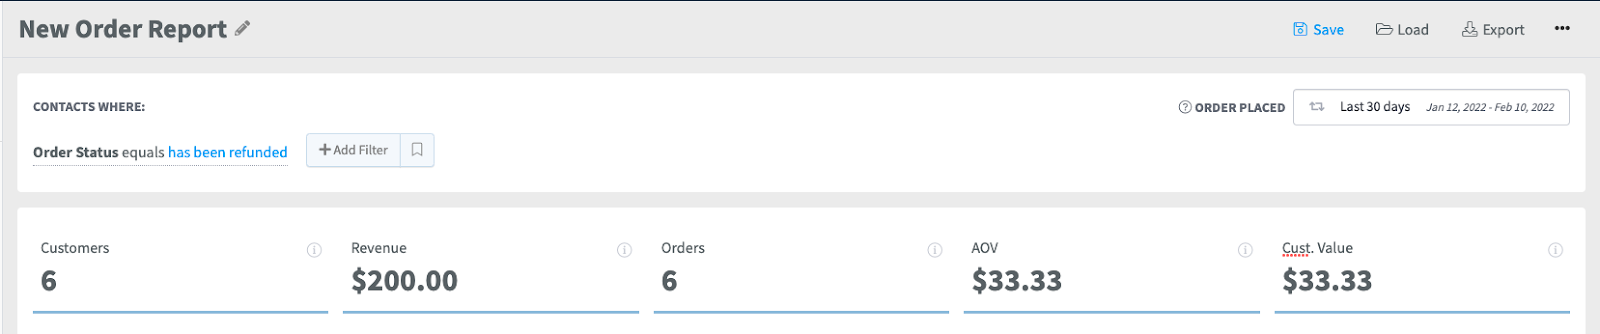
The report, however, does not show refunds processed in that time period for orders placed outside of that period. Those refunds would be accounted for in a report encompassing those original order dates.