Use SubStack with SegMetrics
In this article, you’ll learn how to send the leads you collect in your SubStack account, into your SegMetrics account. Not only will you be able to get your leads, you’ll also get tracking data for better insight into where your leads are coming from.
In this Article:
- Deploy tracking pixel via Google Tag Manager to your SubStack site/page
- Export Leads collected via SubStack
- Import Leads into Custom CRM in SegMetrics.
Install SegMetrics Tracking Pixel via Google Tag Manager
So that you can accurately track the lead channels to your publications, you’ll need to install your SegMetrics tracking pixel into SubStack via Google Tag Manager (GTM). GTM is the only way SubStack allows for 3rd party tracking codes to be installed.
To install your SegMetrics tracking pixel to GTM:
- Follow this article to get your tracking pixel installed as a new tag to GTM
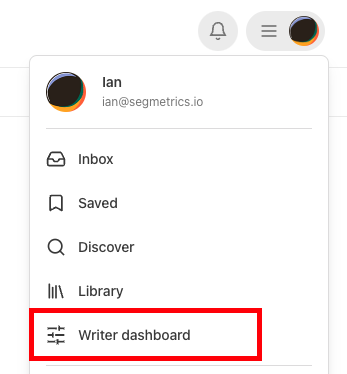
- With your GTM ready, head over to your SubStack Writer Dashboard
- From the Writers Dashboard, Click Settings
- Click Analytics
- Enter your GTM container ID into the Google Tag Manager ID field

Bring your leads from SubStack into SegMetrics
SubStack doesn’t have a native API to manage your subscriber list within the platform. However, SegMetrics allows you to easily import your subscriber information from a standard SubStack data export.
Export Leads from SubStack
The best way to send your leads from SubStack over to SegMetrics, is through a CSV export and import:
- From your SubStack Writer Dashboard, click Subscribers
- Click Export
- Download the export to your computer


Next, you’ll import your downloaded CSV file into SegMetrics.
Import Leads into SegMetrics
Now that you have your CSV file of leads from SubStack, you can import that list of leads into SegMetrics.
To upload your leads:
- Login to SegMetrics
- Head over to your Integrations
- Click the gear icon on the CRM/Email tool integration
- Click Upload Historical Data
- Click the option to upload Contacts
- Select the CSV from SubStack
- Map the fields with the appropriate options.
- Email = Email
- Date Created = Subscription Date
- First Name = Name
- Click Continue

